Configure campaign settings
Use this guide when you need to change settings on a campaign that’s already live.
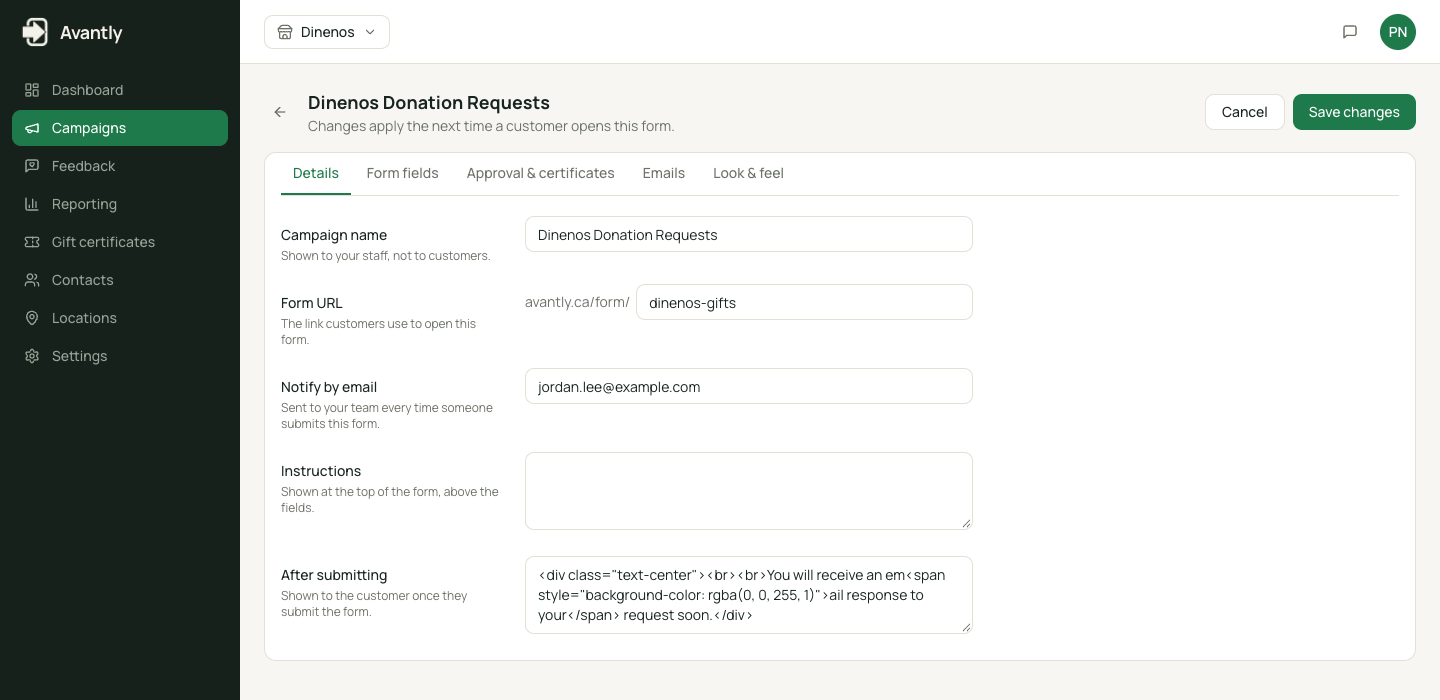
- Open Campaigns and select the campaign you want to change.
- Use the sections to jump to the setting you need — Campaign Information, Form, Form Complete, Flow, Emails, or Look & Feel.
- Make your change and save.
Common changes
Section titled “Common changes”Change the auto-approve rule
Section titled “Change the auto-approve rule”Go to the Flow section and change the Submit Action:
- Manual Review sends new submissions to the Requests queue for staff to decide.
- Auto Approve issues a certificate instantly for every submission.
- Auto Reject declines every submission instantly.
Add or change form fields
Section titled “Add or change form fields”Go to the Form section to add, remove, reorder, or edit fields. Use the live preview to check the result before saving.
Change default certificate expiration
Section titled “Change default certificate expiration”Set the default expiration (in days) in the Flow section. This applies to certificates issued from this campaign unless changed manually per certificate — see Resend or update a certificate.
Require predefined amounts
Section titled “Require predefined amounts”In the Flow section, enable Enforce predefined gift certificate amounts to require requesters to choose from a fixed list instead of typing a free-text amount.
Turn on unique-email enforcement
Section titled “Turn on unique-email enforcement”In the Campaign Information section, enable Allow only one request per email to block repeat submissions from the same address.
Allow partial redemptions
Section titled “Allow partial redemptions”In the Flow section, enable Allow gift certificates to be redeemed multiple times to let a certificate’s balance be drawn down across several visits instead of being used in one redemption.